Imagine drinking coffee that’s fresher than anything you can buy in stores, costs half the price, and tastes exactly how you like it. That’s what home coffee roasting offers – and it’s easier than you might think.
Why Roast Coffee at Home?
Save Money: Green coffee beans cost about $5-7 per pound, while the same beans roasted and packaged cost $12-20. If you drink good coffee regularly, you could save $300-500 per year just by roasting at home.
Get Fresher Coffee: Store-bought coffee might be weeks or months old by the time you drink it. Coffee tastes best within days of being roasted, not weeks. When you roast at home, you control the freshness completely.
Customize Your Taste: Like your coffee light and fruity? Roast it lightly. Prefer bold and smoky? Take it dark. You’re in complete control of the flavor.
What Actually Happens When You Roast Coffee?
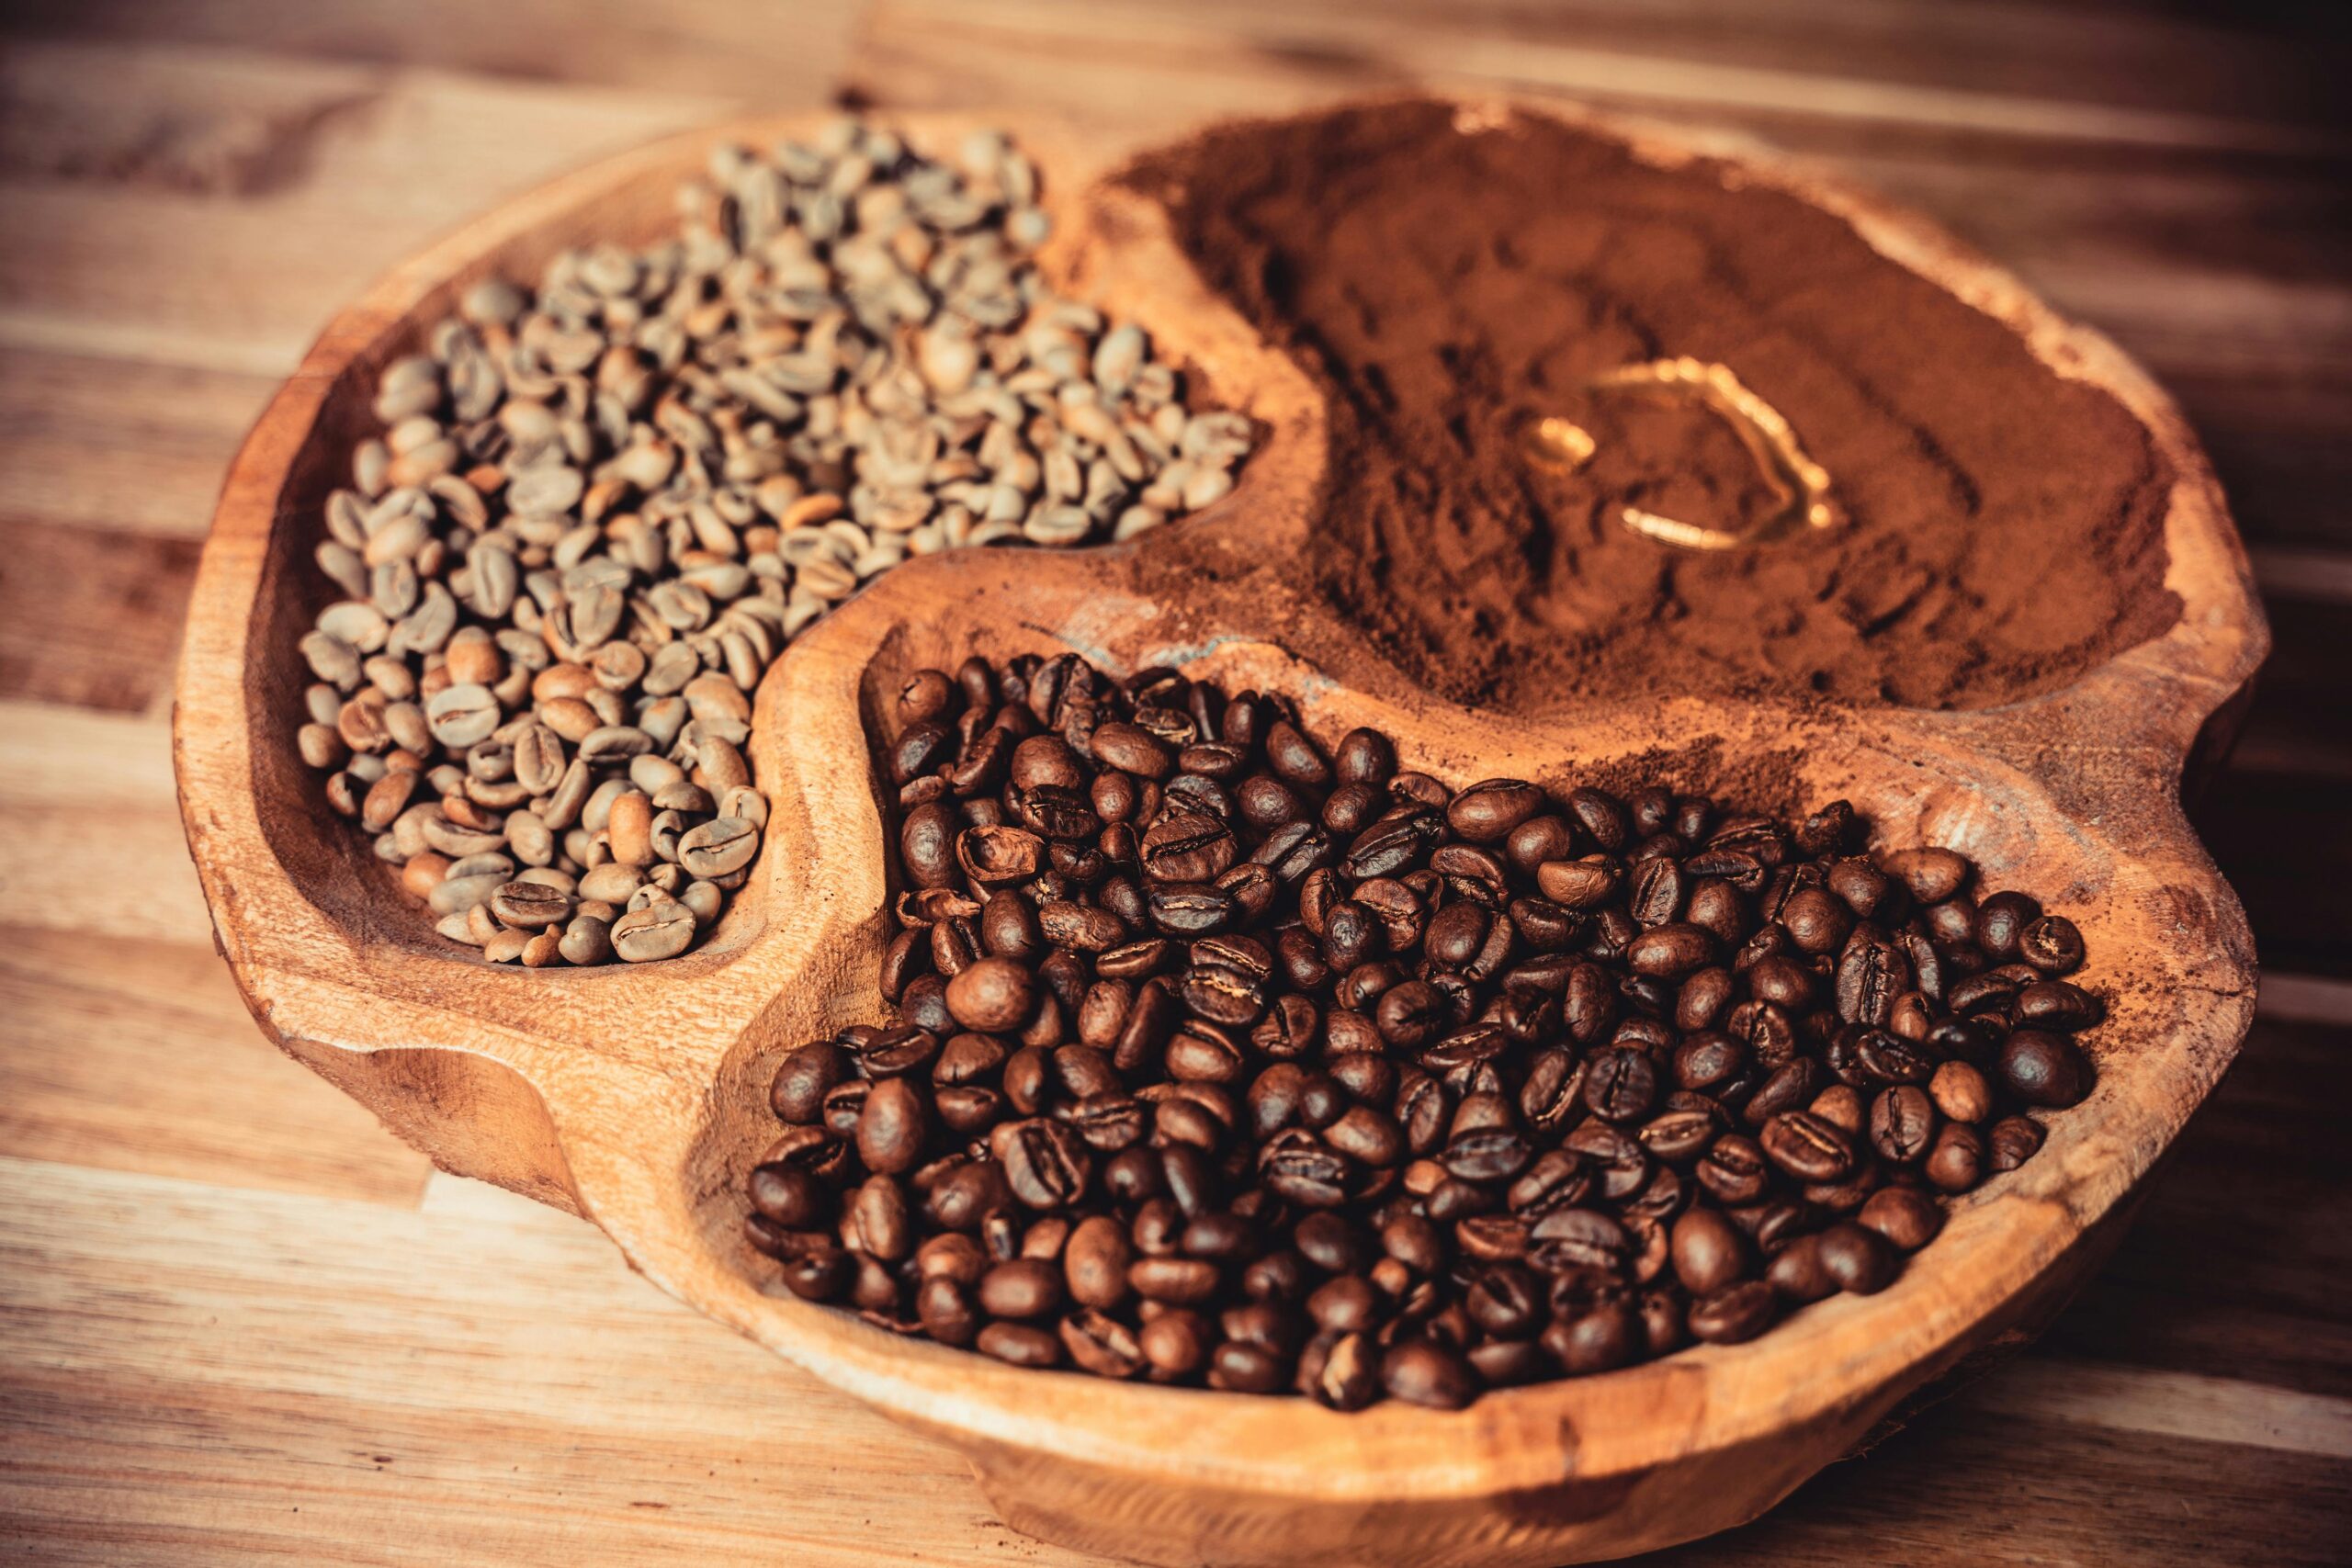
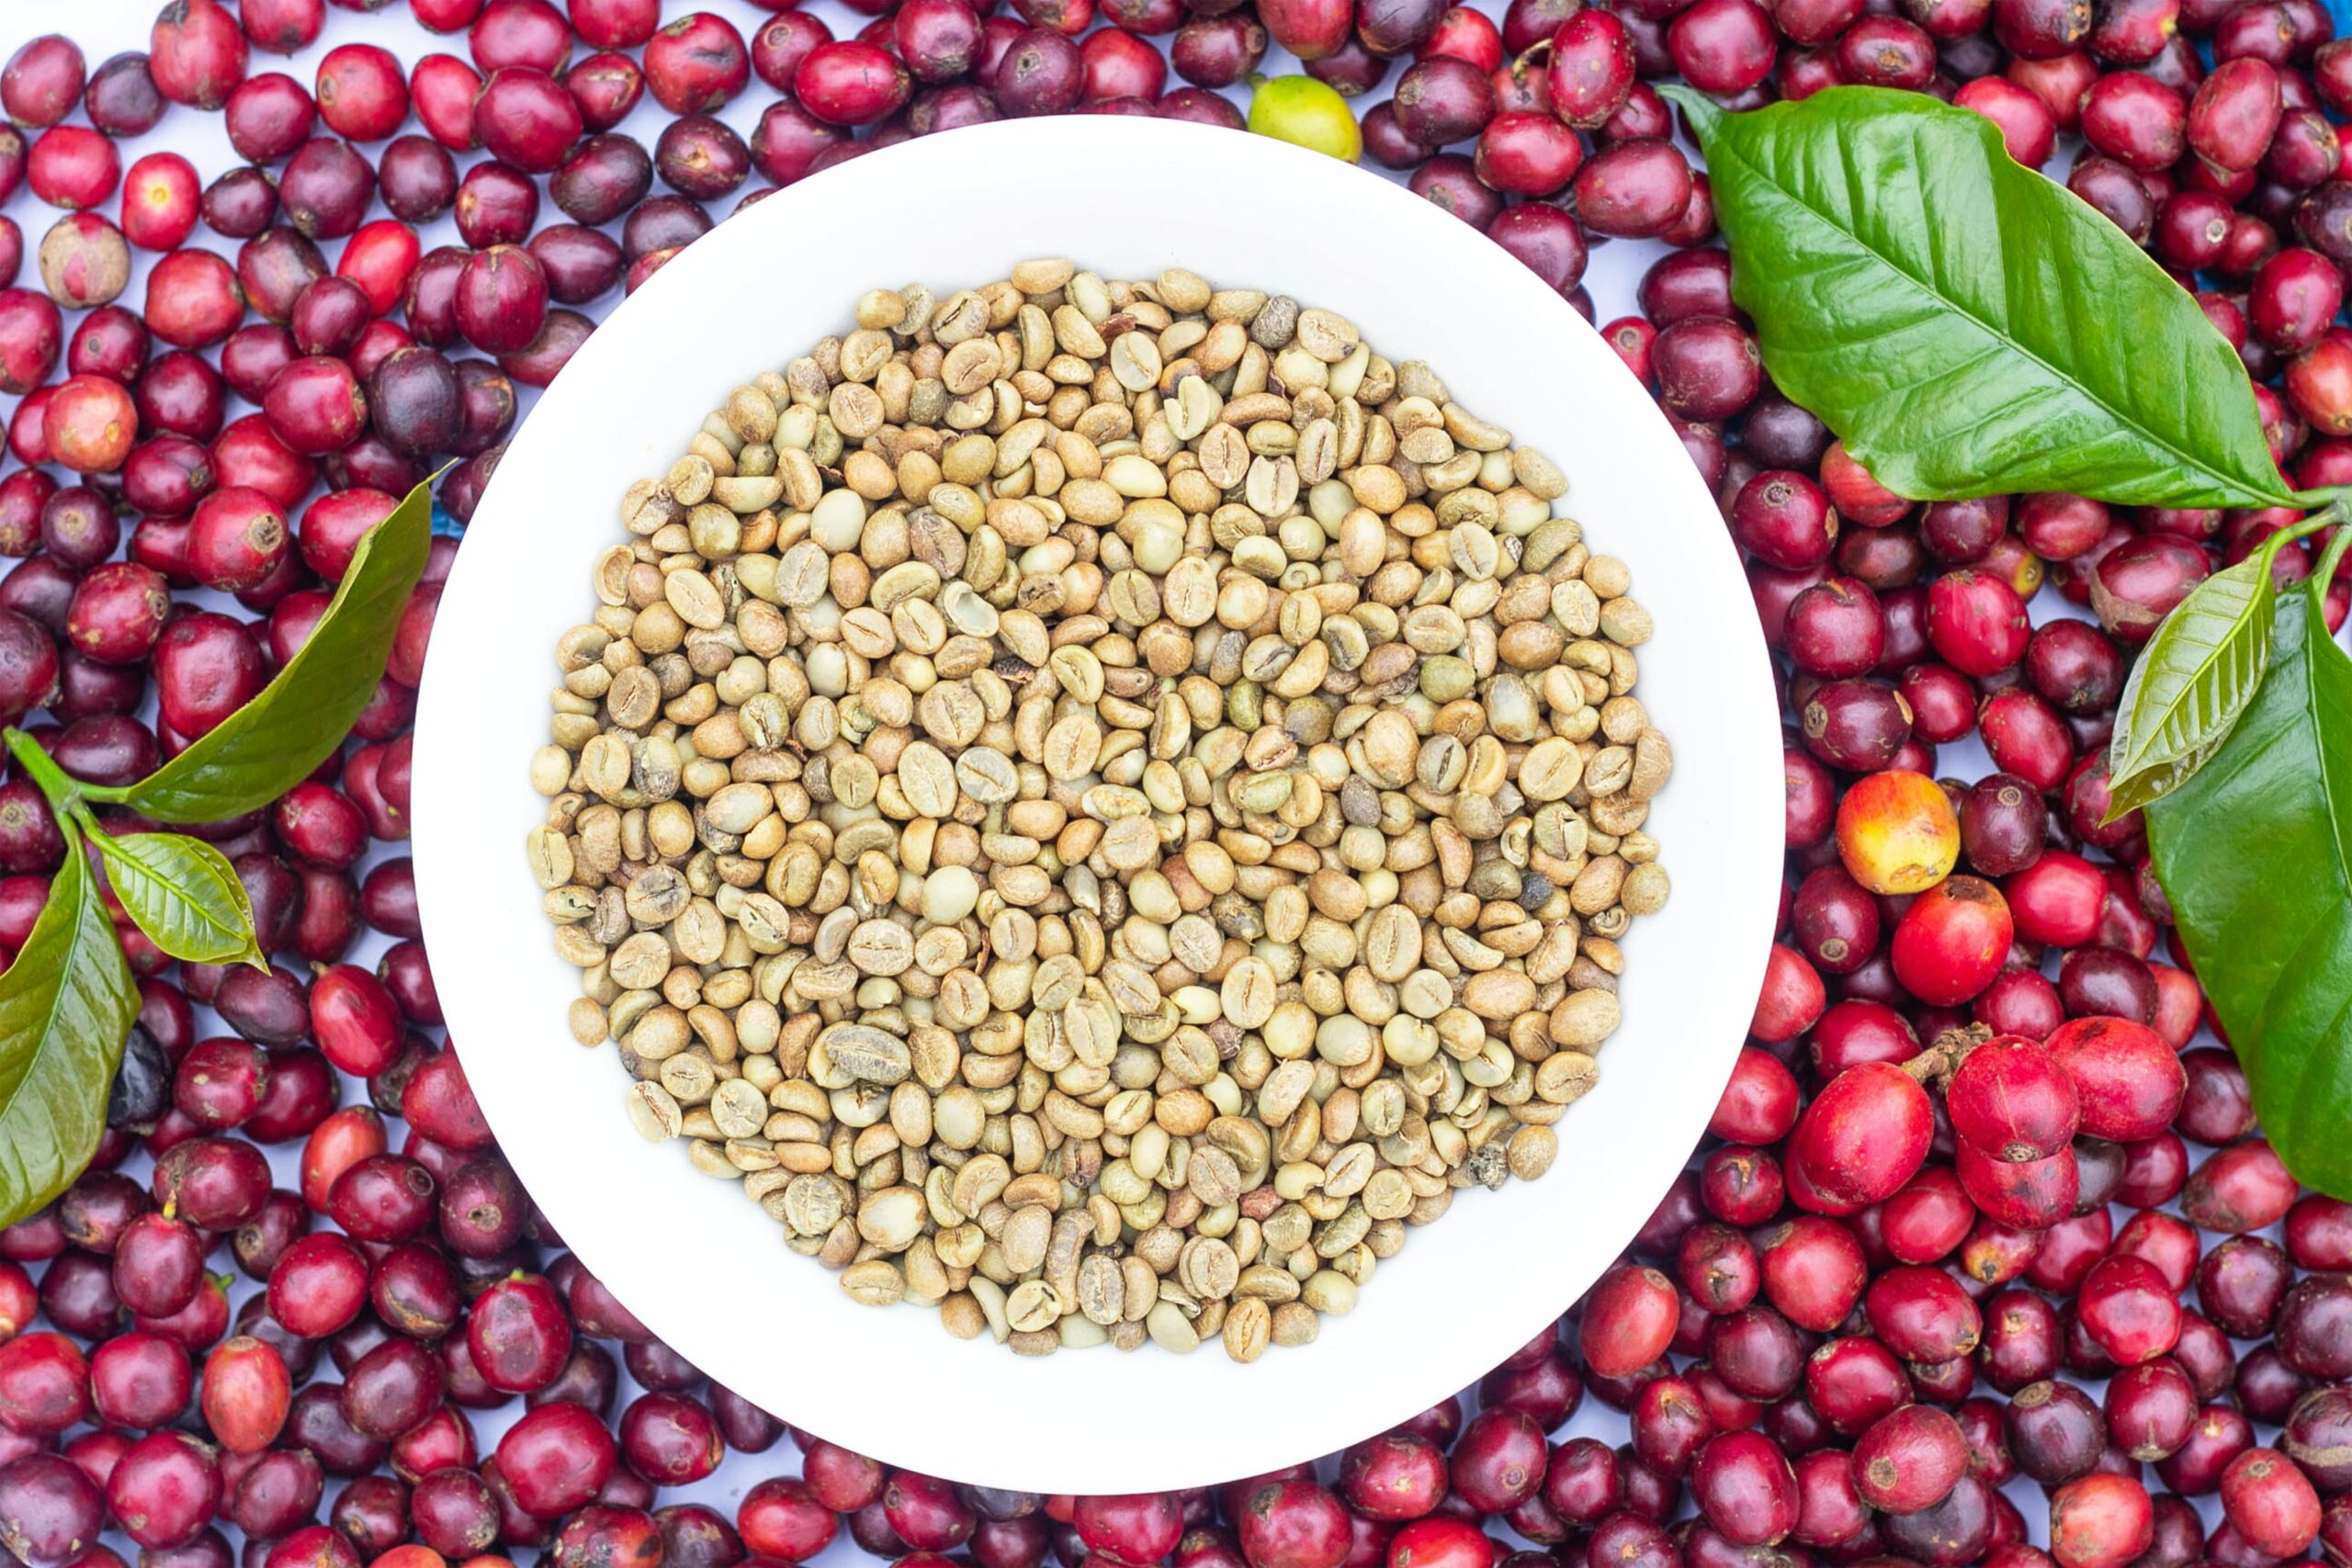
Coffee beans start out green and hard – nothing like the brown beans you’re used to. Roasting applies heat to transform these green seeds into something you can grind and brew.
Think of it like cooking. When you bake bread, heat changes flour and water into something completely different. The same thing happens with coffee beans. Heat removes moisture, browns the beans, and creates hundreds of new flavors through chemical reactions.
The process creates the familiar coffee aroma and makes the beans brittle enough to grind. Without roasting, green beans would make a terrible, grassy-tasting drink.
Simple Ways to Start Roasting
You don’t need expensive equipment to begin. Here are the most popular beginner methods:
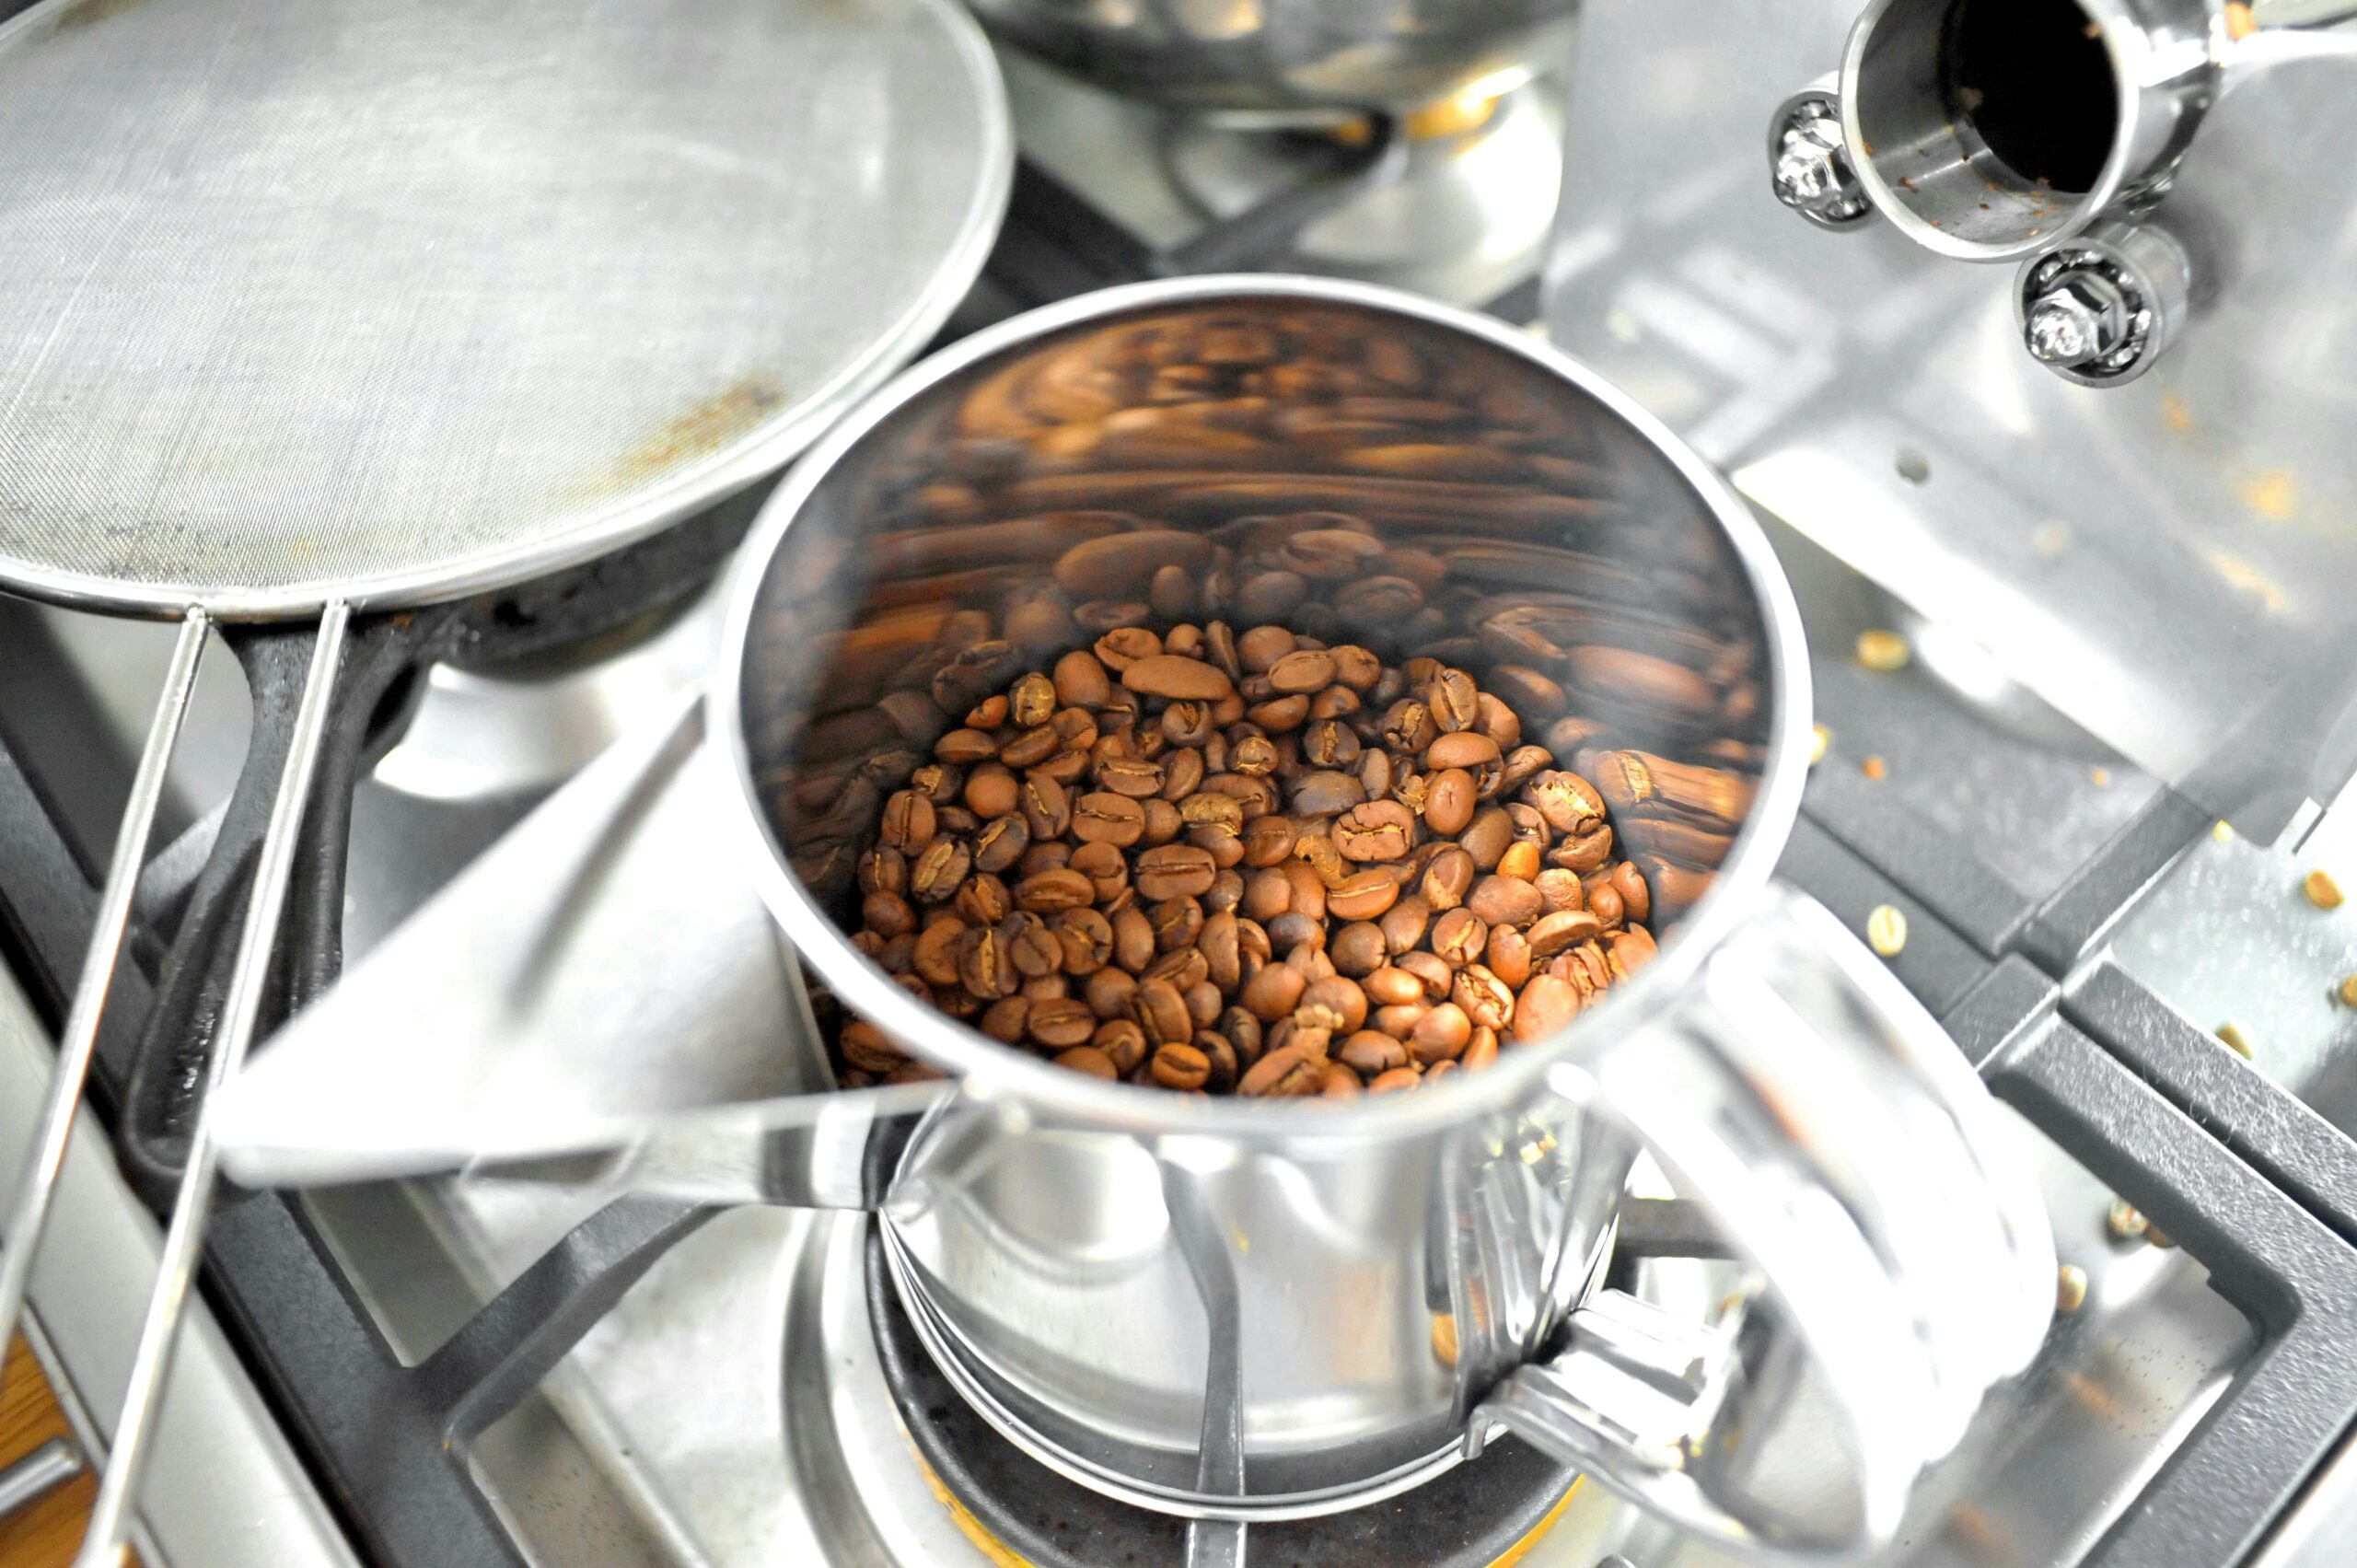
Stovetop Skillet: Use any heavy pan on your stove. Put green beans in the pan, keep them moving constantly, and watch them change color. This method costs nothing extra and teaches you how roasting works, but it requires constant attention and stirring.
Popcorn Popper: Buy a basic hot-air popcorn maker for under $30. It heats and moves the beans automatically, making roasting much easier. Just make sure it has vents on the sides, not a mesh bottom. This is how many serious home roasters started.
Oven Method: Spread beans on a perforated pan in your oven. Less control than other methods, but it works for larger batches.
Dedicated Equipment: If you get serious about roasting, you can buy machines made specifically for coffee roasting. These range from $200 to over $1,000 but offer much better control and consistency. Professional home roasting equipment can help you achieve café-quality results once you’ve mastered the basics.
Choosing Your First Beans
Not all green coffee beans are the same. Some are easier to roast than others, making them perfect for beginners.
Start Simple: Look for beans from Brazil, Colombia, or Guatemala. These tend to be forgiving and roast predictably. Avoid more challenging origins like Kenya or Ethiopia until you’ve practiced.
Buy Fresh: Green beans stay good for about a year, but fresher is better. Look for “current crop” beans that were harvested recently.
Buy Small Amounts: Start with 2-3 pounds total. You’ll want to try different origins, and you’re still learning, so don’t commit to huge quantities.
If you want to taste what professionally roasted versions of these beans should taste like before you roast them yourself, you can explore roast-to-order specialty coffees to develop your palate and set flavor expectations.
The Roasting Process Step by Step
Here’s what happens during a typical 10-minute roast:
Minutes 1-3: Beans dry out and turn from green to yellow. They’ll smell grassy or like hay. Keep them moving and maintain steady heat.
Minutes 4-7: Beans turn light brown and start smelling more like coffee. This is when the magic really happens – sugars caramelize and new flavors develop.
Minutes 8-10: You’ll hear “first crack” – a popping sound like popcorn. This marks the beginning of what we’d call “roasted coffee.” You can stop here for a light roast.
Minutes 10+: For darker roasts, continue past the first crack. You might hear “second crack” – a quieter crackling sound. This is medium-dark to dark roast territory.
Understanding Roast Levels
Light Roast: Stop just after the first crack starts or in the middle of the first crack. Beans are light brown with no oil on the surface. Coffee tastes bright and acidic, with flavors that showcase where the beans came from.
Medium Roast: Once the first crack has finished, this is your medium roast. This balances the original bean flavors with roasted flavors – it’s the “sweet spot” for many people.
Dark Roast: The second crack begins your dark roast. The further into the second crack, the more oil comes to the surface. Beans are dark brown with some or a lot oil visible. The roasted flavors dominate, creating bold, smoky coffee with less acidity.
Key Things to Watch For
Color Changes: Beans go from green to yellow to light brown to dark brown. Color is your main guide for roast level.
Sounds: First crack tells you when you’ve reached light roast. The second crack indicates medium-dark territory.
Smells: Aromas change from grassy to bread-like to nutty to roasted coffee smells.
Timing: Most roasts take 8-15 minutes. Going too fast creates underdeveloped flavors.
After Roasting: Critical Steps
Cool Quickly: As soon as beans reach your desired color, cool them fast to stop the roasting process. Use a metal colander and fan, or pour beans between two colanders. This prevents over-roasting.
Remove Chaff: Roasting creates papery chaff that falls off the beans. Remove it by gently blowing it away or shaking beans in a colander.
Wait Before Brewing: Fresh-roasted coffee releases gas for 12-24 hours. While you can drink it immediately, it tastes better after resting for a day.
Storage and Freshness
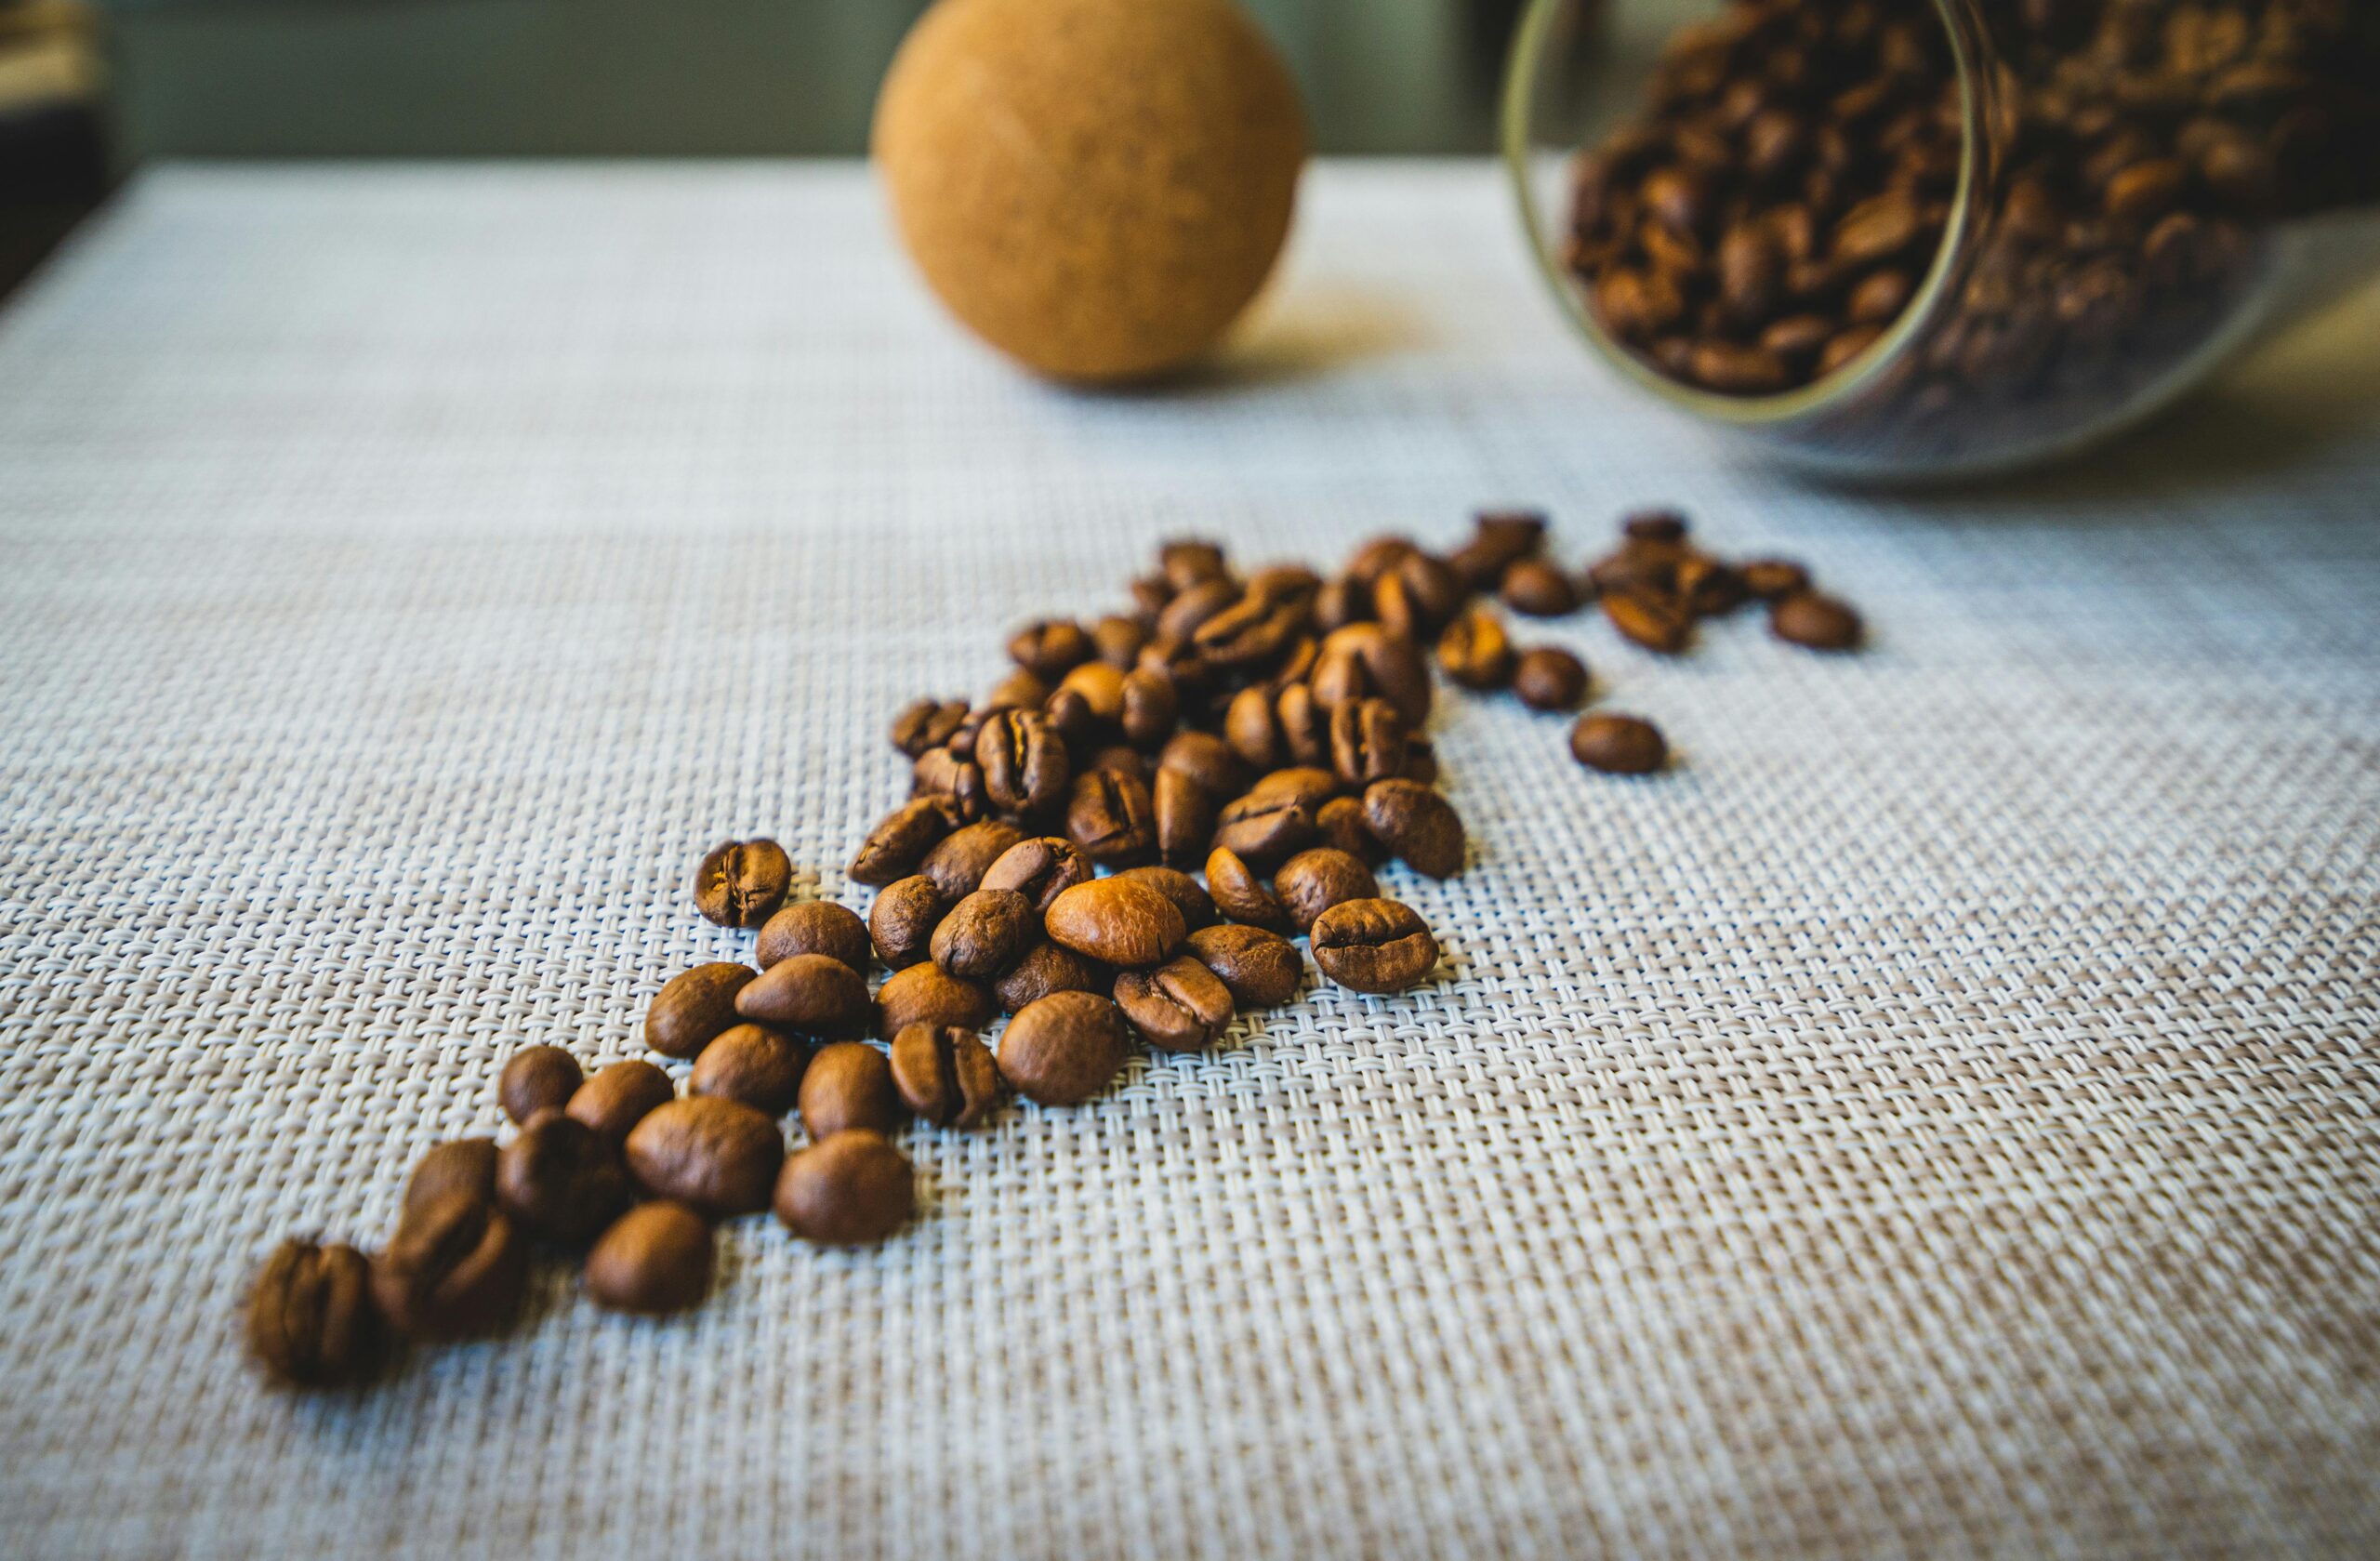
Store your roasted beans in airtight containers away from light and heat. Mason jars work great. Don’t use the refrigerator or freezer – they can introduce moisture.
Use your beans within 2-3 weeks for the best flavor, though they’ll still be good for longer than store-bought coffee.
Common Beginner Problems
Uneven Roasting: Some beans are darker than others. Solution: Keep beans moving constantly and don’t overcrowd your roasting container.
Roasting Too Fast: Beans turn brown quickly, but taste underdeveloped. Solution: Use lower heat and take more time.
Going Too Dark: Easy to do since beans darken quickly near the end. Solution: Watch color carefully and have a cooling setup ready.
Smoky Kitchen: Roasting produces smoke, especially with darker roasts. Solution: Use good ventilation or roast outside.
Building Your Skills
Keep simple notes about each roast: what beans you used, how long you roasted, when you heard the first crack, and how the coffee tasted. This helps you repeat successes and learn from mistakes.
Start with basic roasts and gradually experiment. Try the same beans at different roast levels to understand how roasting affects flavor.
Don’t expect perfection immediately. Even experienced roasters have off days, and learning takes practice.
For hands-on guidance and to accelerate your learning, consider taking a structured roasting class where you can practice with professional equipment and get personalized instruction from experienced roasters.
The Bottom Line
Home coffee roasting combines practical benefits – fresher coffee and lower costs – with the satisfaction of creating something yourself. While there’s always more to learn, the basics are simple enough that anyone can start making good coffee at home.
Your first roasts might not be perfect, but they’ll be fresh and uniquely yours. With practice, you’ll develop techniques that create coffee exactly suited to your taste preferences.
The best part? You’ll never run out of coffee because you waited too long to buy more. Your supply is always as fresh as your last roasting session.